
Video: CineLink Streaming Player
Basic Information
Used to show Program Board films. Only films licensed to show during a particular time will show as “Playback Available”. ALWAYS stored in Ken’s office. Must be picked up and returned to Ken’s office.
Setup Considerations
DO NOT REMOVE THE PLAYER FROM THE CASE. Player can be used by opening the case's flaps.
CineLink Start-up and operation
- Unzip the rear flap.
- Connect power cable to receptacle.
- Connect HDMI cable to HDMI input of video system.
- Unzip the front flap.
- Turn on using the remote that should always be stored in the zippered pocket of the front flap. IMPORTANT! Do not power on until HDMI cable is connected to video system. Will have to restart the unit.
- Operate using remote control.
Multipurpose Rooms Setup
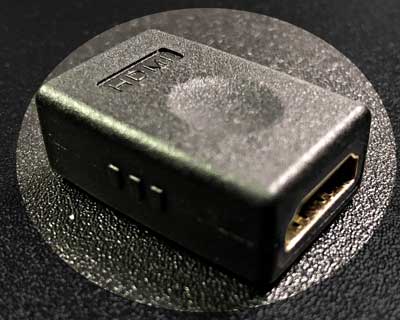
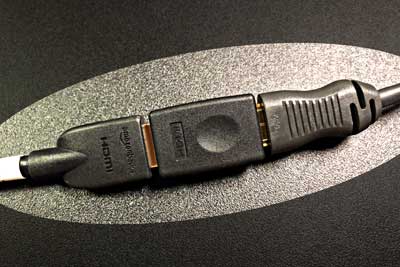
When setting the CineLink in Multipurpose rooms 232A (forthcoming), 345A, and 345B IMP stations, DO NOT detach and/or disconnect the HDMI cable from the rear of the CineLink. Connect an HDMI adapter (Figure 1, a.k.a. turnaround) to the end of the CineLink's HDMI cable, then connect the IMP station auxiliary HDMI cable to the other end of the HDMI adapter (Figure 2). An HDMI adapter should always be stored in one of the CineLink case storage pockets - preferably the large pocket so that it doesn't fall out when accessing the CineLink remote control.
CineLink Shut-down
- Shut down using remote's power button or from the menu option. IMPORTANT! Do not just unplug it from power.
- Unplug HDMI cable from video system.
- Unplug power cable from receptacle.
- DO NOT (ATTEMPT TO) DISCONNECT CABLES FROM THE UNIT. Neatly store cables within rear of the case.
- Return remote to webbed pocket.
- Zip the rear flap closed.
- Zip the front flap closed.